1. Overview
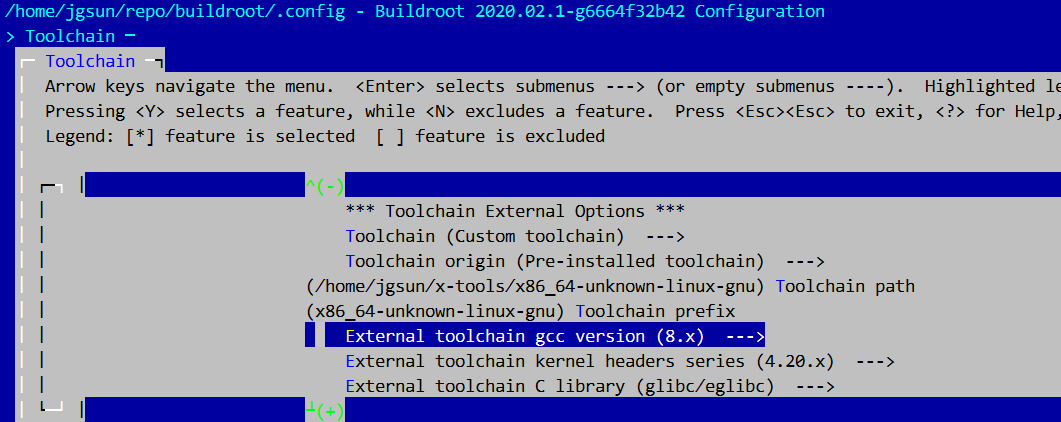
buildroot官方版本已经支持qemu_x86_64,配置文件在configs/qemu_x86_64_defconfig。本文基于官方qemu_x86_64配置二次开发,比如采用cross-NG 制作external toolchain,kernel增加pci配置,实现qemu_x86_64板卡的启动,以作为kvm,内核研究的实验平台。
2. buildroot配置
从https://github.com/jgsun/buildroot clone buildroot,从make qemu_x86_64_defconfig开始配置
jgsun@VirtualBox:~/repo/buildroot$ make qemu_x86_64_defconfig
二次开发配置见github网页qemu: x86_64: update linux.config and qemu_x86_64_defconfig ,下面截图说明:
2.1 toolchain
2.2 kernel
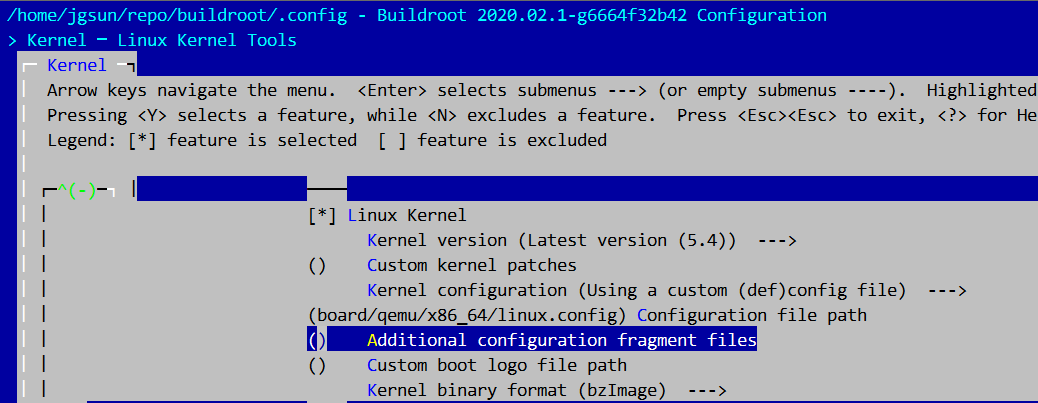
选择5.4以式版本,配置local.mk选择custom source,方便学习和调试内核。
jgsun@VirtualBox:~/repo/buildroot$ cat local.mk
LINUX_OVERRIDE_SRCDIR = /home/jgsun/repo/linux
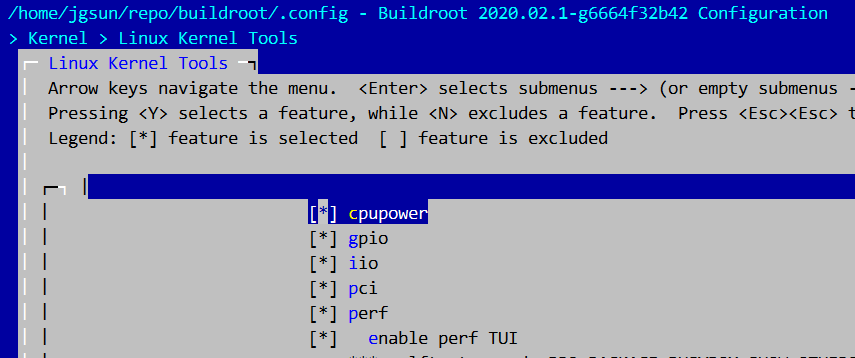
2.3 linux tool
主要选择perf,性能分析工具。
2.4 其他配置
比如选择ext4文件系统,选择pciutils等
2.5 kernel 配置
make linux-menuconfig进入kernel配置菜单:
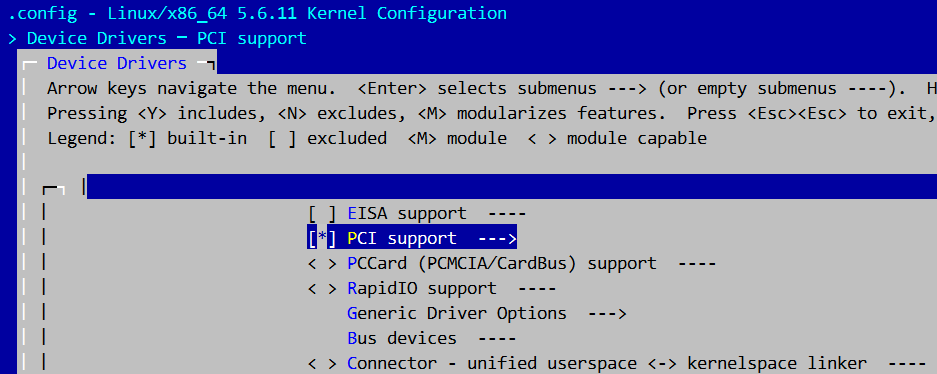
选择PCI,否则virtio disk设备初始化失败,不会创建/dev/vda,kernel启动时就会因为找不到boot设备启动失败,log如下:
sched_clock: Marking stable (789140669, -46456775)->(767225951, -24542057)
ALSA device list:
  No soundcards found.
input: ImExPS/2 Generic Explorer Mouse as /devices/platform/i8042/serio1/input/input2
Waiting for root device /dev/vda...
tsc: Refined TSC clocksource calibration: 1895.054 MHz
clocksource: tsc: mask: 0xffffffffffffffff max_cycles: 0x36a1d78ecc8, max_idle_ns: 881590726809 ns
clocksource: Switched to clocksource tsc
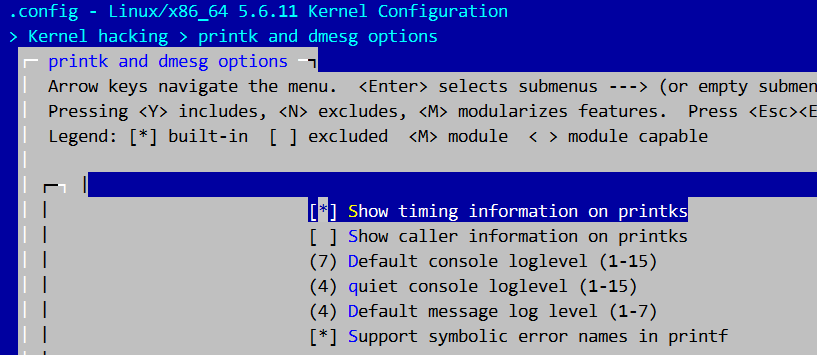
其他配置,比如Show timing information on printks等
3. 编译运行
编译完成之后就可以使用下面的命令运行:
jgsun@VirtualBox:~/repo/buildroot$ sudo qemu-system-x86_64 -M pc -kernel output/images/bzImage -drive file=output/images/rootfs.ext2,if=virtio,format=raw -append "rootwait root=/dev/vda console=tty1 console=ttyS0" -net nic,model=virtio -net user -nographic -enable-kvm
注意上述命令增加了-enable-kvm,qemu启动的时候将和ubuntu内核模块kvm-intel/kvm配合工作,利用kvm使用硬件虚拟化机制提高了虚拟机性能。虚拟机启动中打印Hypervisor detected: KVM:
[ 0.000000] DMI: QEMU Standard PC (i440FX + PIIX, 1996), BIOS 1.10.2-1ubuntu1 04/01/2014
[ 0.000000] Hypervisor detected: KVM
[ 0.000000] kvm-clock: Using msrs 4b564d01 and 4b564d00
[ 0.000001] kvm-clock: cpu 0, msr 6620001, primary cpu clock
[ 0.000001] kvm-clock: using sched offset of 652265612 cycles